Both of these games came into the owner’s possession when he purchased his lake house about a year and half prior. Neither game ever worked completely, but had gotten increasingly worse in the intervening time.
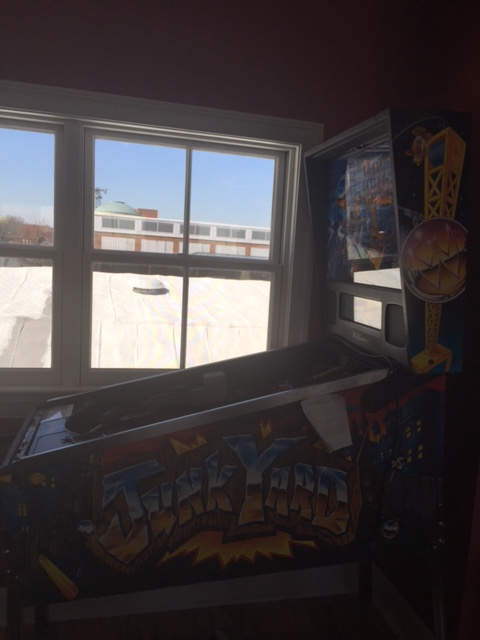
Each game was actually a really nice example of each title, just needed a little love to get back in action.
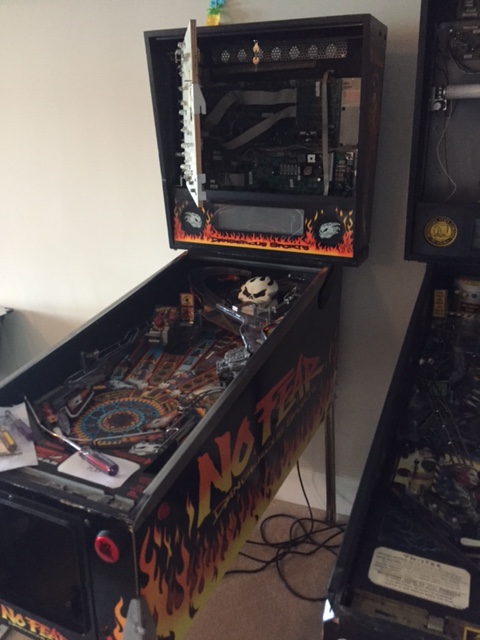
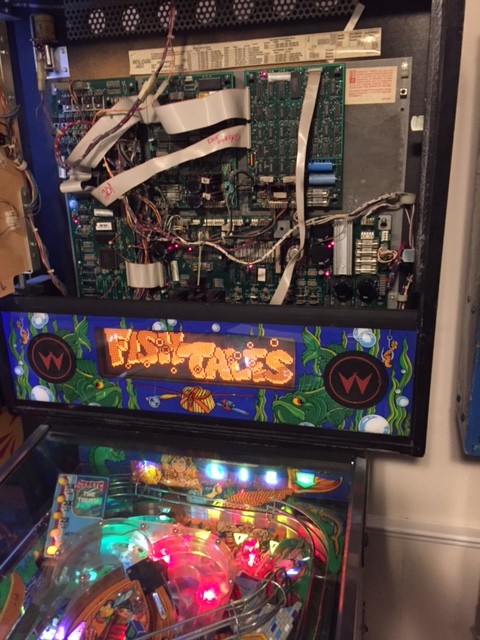
For No Fear, the first thing I noticed was garble all over the DMD screen. A reset of the ribbon cable from the DMD Controller board to the DMD cleared this issue up.

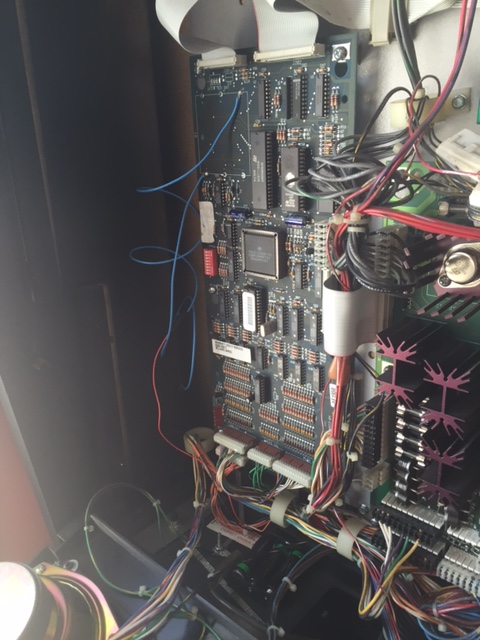
No Fear in the process of being gone through.
I put in new balls, new rubbers (I think No Fear is the easiest rubber kit I’ve ever put on a game), polished and waxed the game. I replaced burnt bulbs and checked all solenoids and switches. The left flipper EOS was getting an error report. It was a wire which came unsoldered on the EOS.
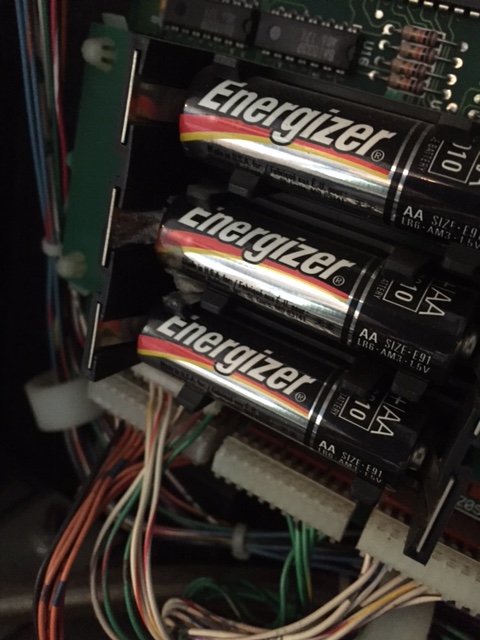
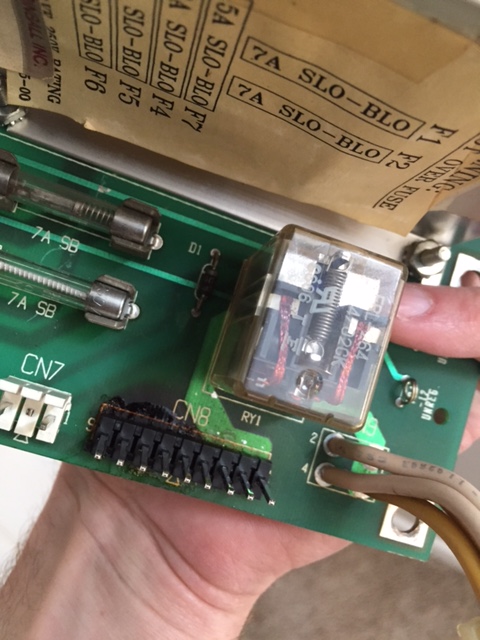
In going to replace the batteries, I noticed that one battery was beginning to leak. Luckily, nothing was on the board yet. So, I snipped the battery holder and added in a remote pack.

Battery corrosion, gotta get that pack out of there!
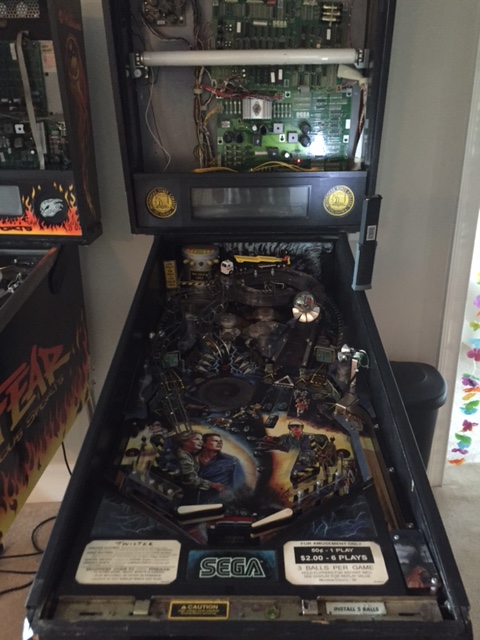
On Twister, likewise, I replaced any burnt bulbs, installed new balls, a new rubber kit, polished and waxed the playfield. I also checked all switches and solenoids.
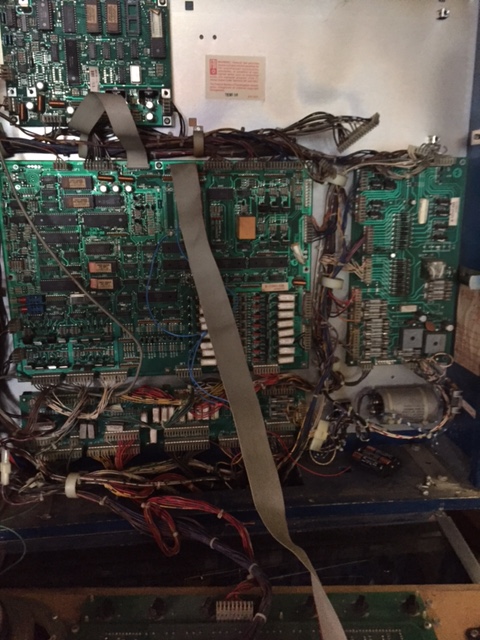
When I opened the backbox, I noticed the CPU was hanging off it’s screws awkwardly. I placed it back in the brackets appropriately as the screws that go into holding these boards in don’t just serve to keep the board in place, they are also the grounding points for the board.
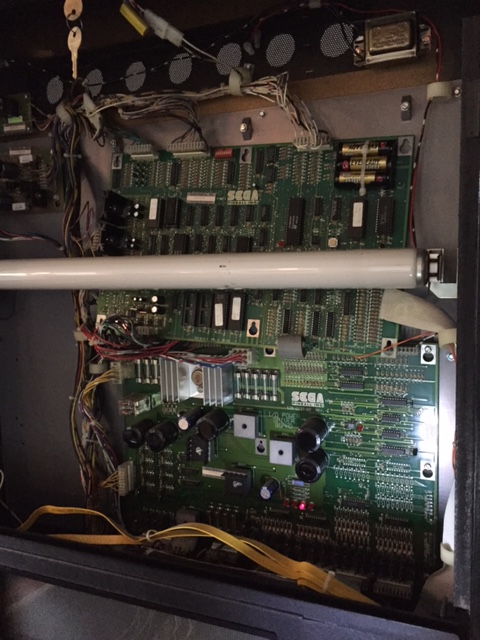
Never seen one completely off the mounting brackets like this, but first time for everything.
There were a couple of switches that needed adjustment and the left flipper was completely off from a mechanical positioning standpoint. I wrenched it from under the playfield and properly aligned that flipper.

That left flipper was just a little out of alignment…
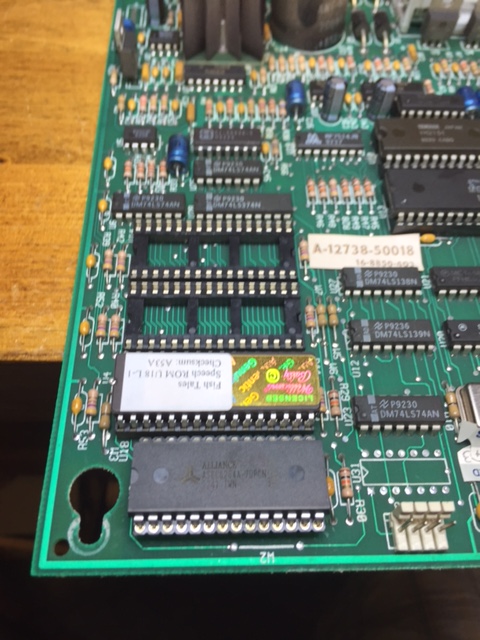
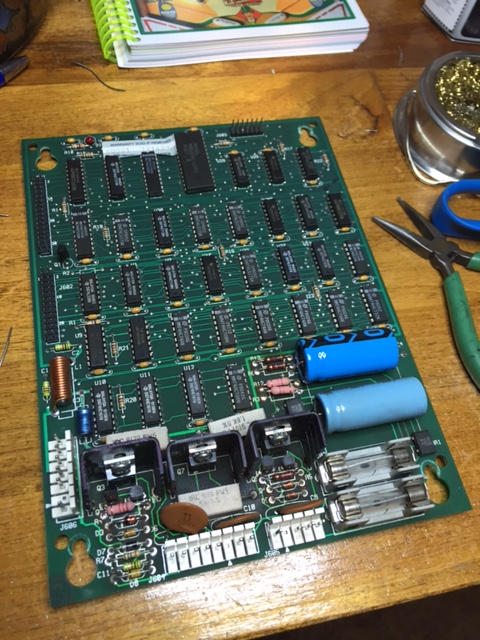
Probably the most glaring issue was the ball popper coil constantly firing and sometimes spitting out two balls. In looking at the switch test, I noticed switch 15, which is the opto that recognizes when the popper is energized, was stuck closed. These little opto boards are notorious for problems on both Sega and Stern games.
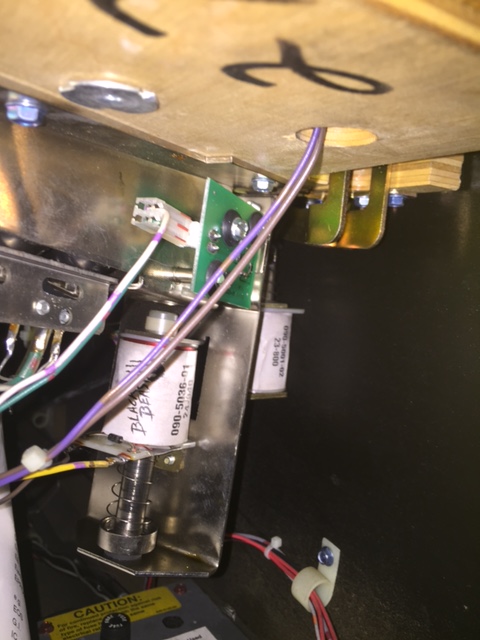
These little opto boards are notorious for needing solder reflows.
I took out both the receiver and transmitter board and reflowed the solder to the pins and the opto receiver/transmitters themselves. This gave the extra bit of reassurance in keeping that board set operating properly.
The only other error with Twister was a right slingshot not working due to a broken link in the coil assembly. This was the only part I didn’t have on hand, but one’s on order and will be dropped in as soon as it arrives.